Copyright © 2007 - 2026, Coachworks For contact data Click Here.
Copyright © 2007 - 2026
Copyright © 2007 - 2026,
Coachworks For contact data
Click Here.
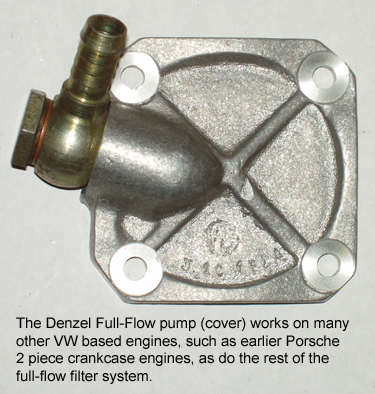
![]()
 About
The Bottom End
About
The Bottom End
We mocked up the assembly many dozens of times, and when we thought we finally had it, we found that our new camshaft bound up in its bore in the crankcase! In the image below left, we see the open crankcase just prior to final assembly. As it went together, we ensured that the main bearings did not bind but we did not suspect that the cam bearings would! We checked and both the cam and the case were "at fault." Shockingly, the case bore for the cam was smaller than new specification! And, surprisingly, the new camshaft was also larger than it should have been!
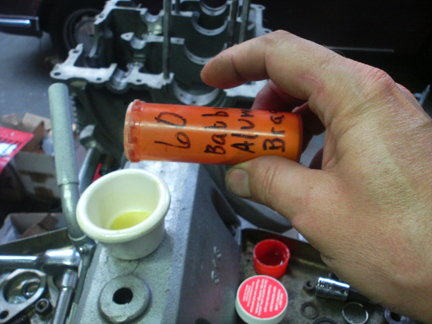
To solve the camshaft fit problem, we mounted up the cam in the lathe and gently trimmed the OD of the bearing journals to 13.98mm, and then we lapped the case using a special lapping compound designed specifically for lapping aluminum - it will not continue to cut and it will not embed! To use it, you combine it with a little oil, assemble the parts, and then cause them to rub together, thus lapping the aluminum part(s). Mixing of the lapping compound with oil is illustrated in the image below, right.
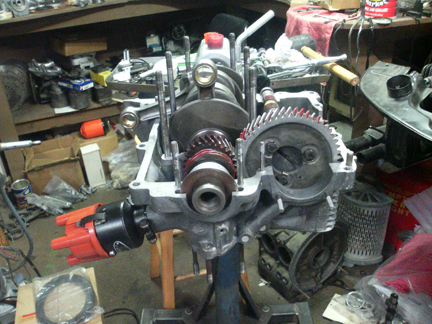
Do note in the image above left that the camshaft gear is both bolted and pinned.
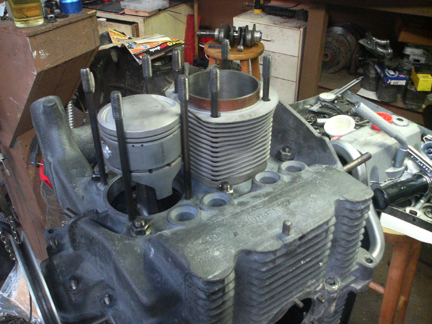
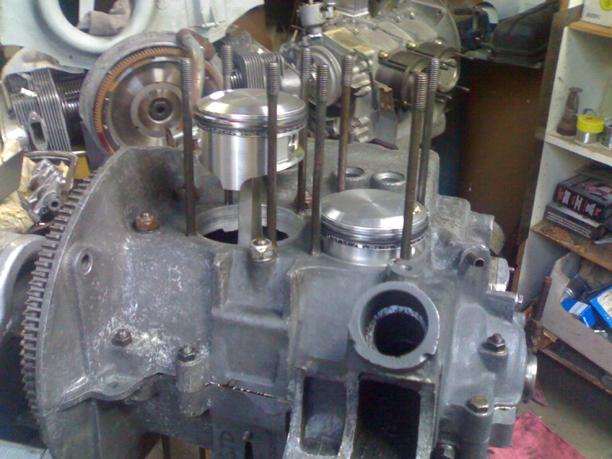
After the bottom was bolted together, the pistons and cylinders were installed, however, this was an iterative process requiring uncounted cycles of assemble, measure, disassemble, alter the cylinder shims, and repeat. The goal of the repetitious cycles of installation and measurement were to ensure that the cylinder shimming was perfect so that our CR is exactly where we want it, and that both cylinders are exactly identical in the power they produce. Here are the pistons and cylinders, carefully balanced, and a trial assembly.
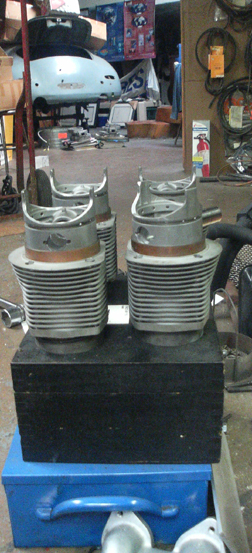
Below, we see the new cylinders - note the relocated head-stud holes!
Now, we can see the pistons that fit inside the new cylinders:
END UPDATE
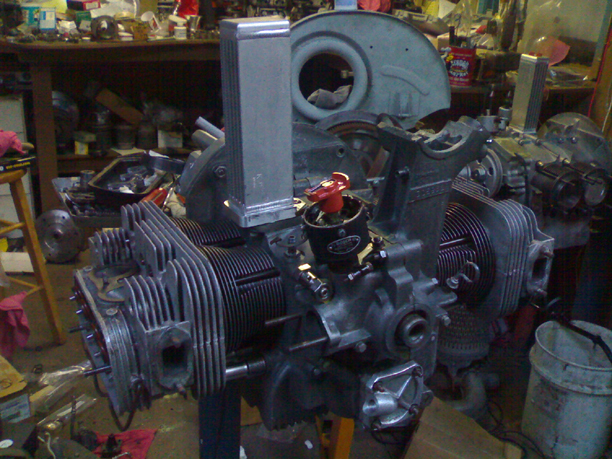
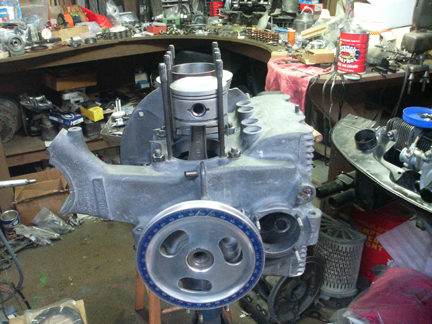
On right, the bottom end has been completed and the heads have been attached only as a means of retaining the cylinders - they, themselves had yet to be bolted on when this picture was taken.
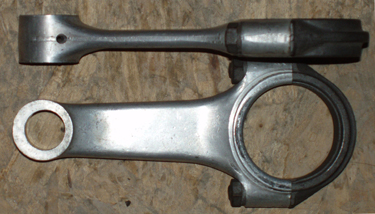
 The
connecting rods below we decided not to use due to the inherent risk of using
aluminum rods with an unknown previous number of cycles.
The
connecting rods below we decided not to use due to the inherent risk of using
aluminum rods with an unknown previous number of cycles.

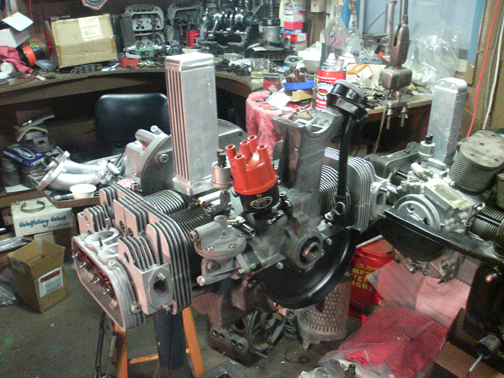
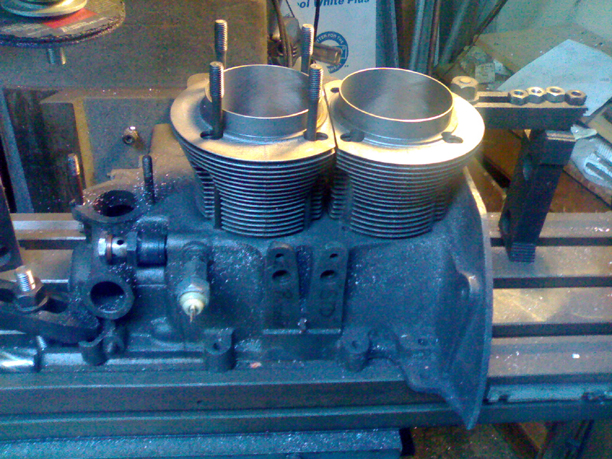
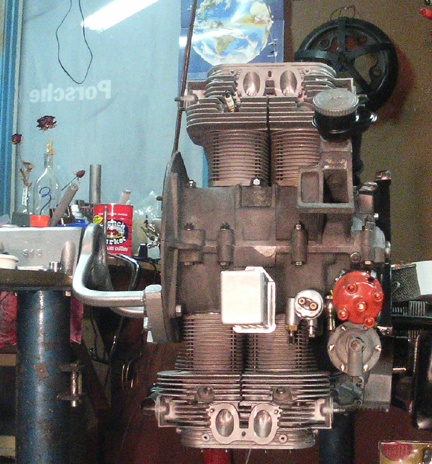
Here, we see the new-in-2011 bottom end, almost ready for the tin and accessories.